The ASUS X399 ROG Zenith Extreme Motherboard Review: Top Tier Threadripper
by E. Fylladitakis on July 17, 2018 10:30 AM EST- Posted in
- Motherboards
- Gaming
- Asus
- ROG
- Overclocking
- ThreadRipper
- X399
ASUS X399 ROG Zenith Extreme BIOS
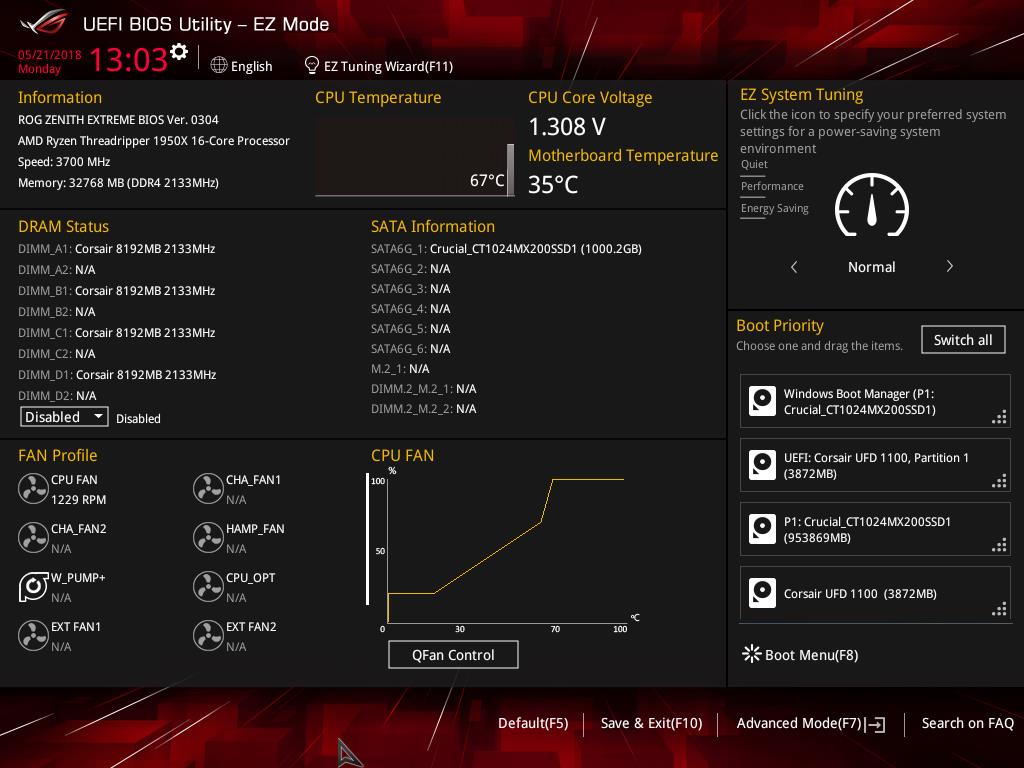
Expectedly, the BIOS of the ASUS X399 ROG Zenith Extreme is graphical and supports multiple languages. The default welcoming screen of the BIOS is its "EZ Mode", a single screen with few adjustable options. From this screen the user can only switch to another preset X.M.P. RAM profile, enter the QFan Control interface, or change the boot priority. There is also an option to launch an "EZ Tuning Wizard" that will perform an automatic overclock of the system.
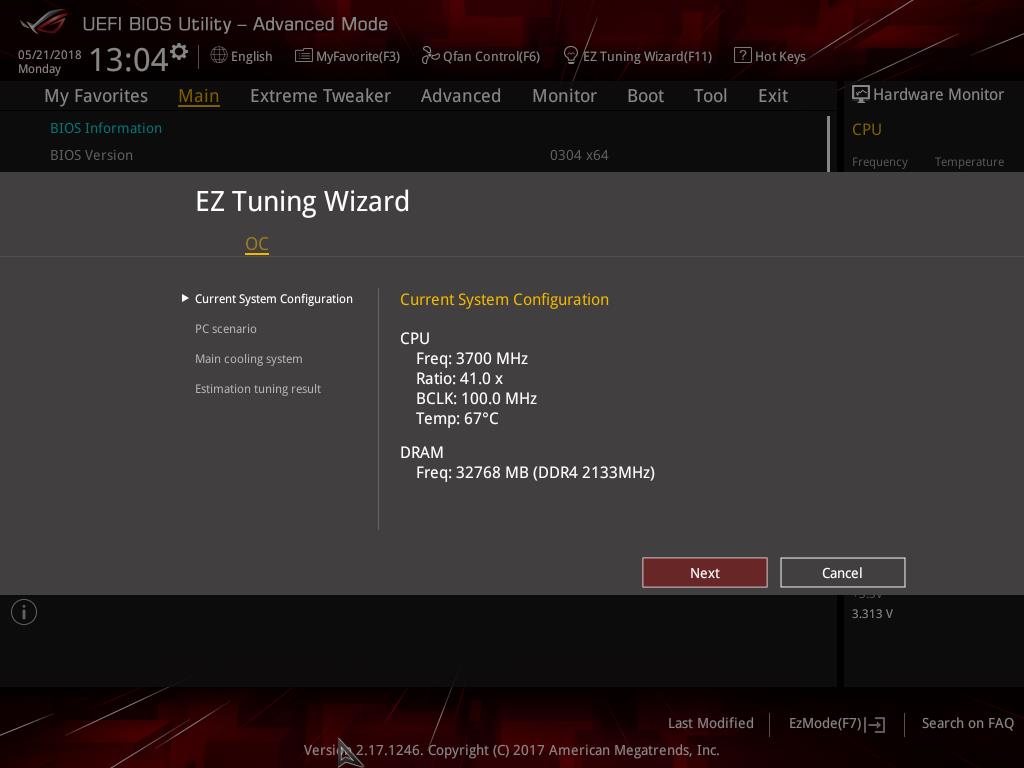
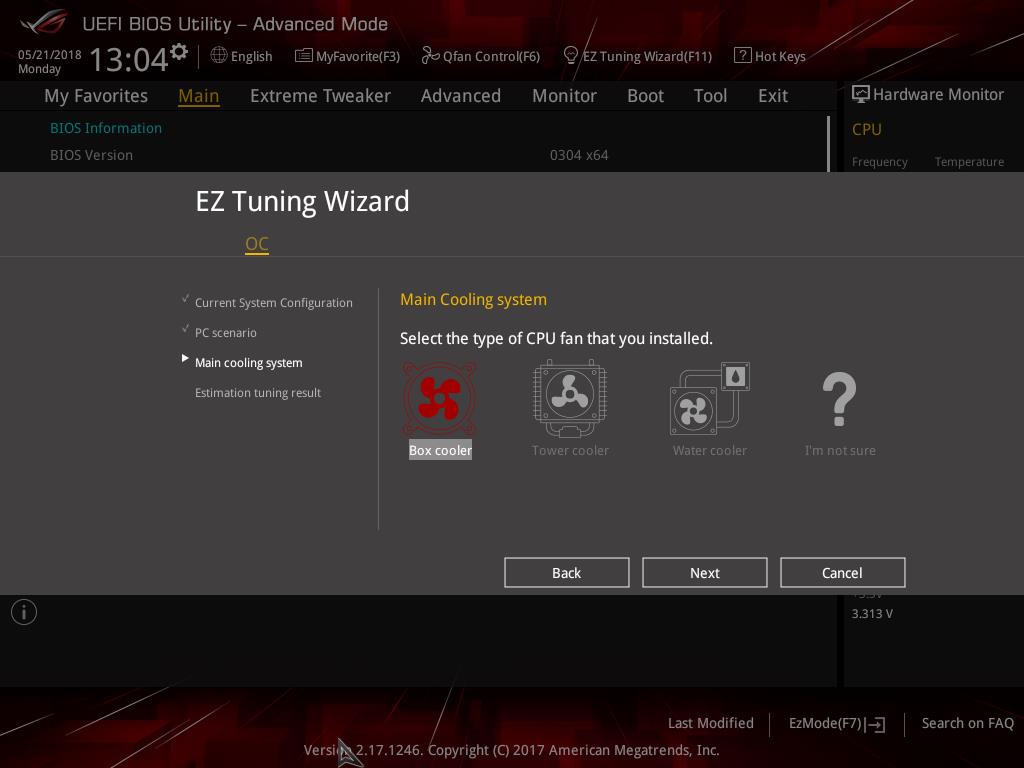
Having a quick look at the "EZ Tuning Wizard" reveals that it is not specifically tailored to Ryzen Threadripper processors. The wizard reads the system configuration, queries about the PC scenario and the CPU cooler, and then automatically overclocks the CPU, all without the user ever having to fiddle with frequency/voltage settings. My issue here is that the wizard has options that should not be available at all for a Ryzen Threadripper processor - for example, when trying to use it with our Noctua TR4-SP3 air cooler resulted to a failed overclock that prevented the system from posting.
The full version of the ASUS X399 ROG Zenith Extreme BIOS is accessible by pressing F7, which brings the user into the Advanced mode. The full version of the BIOS is split into eight main menus, with the majority of the options squeezed under just two of them.
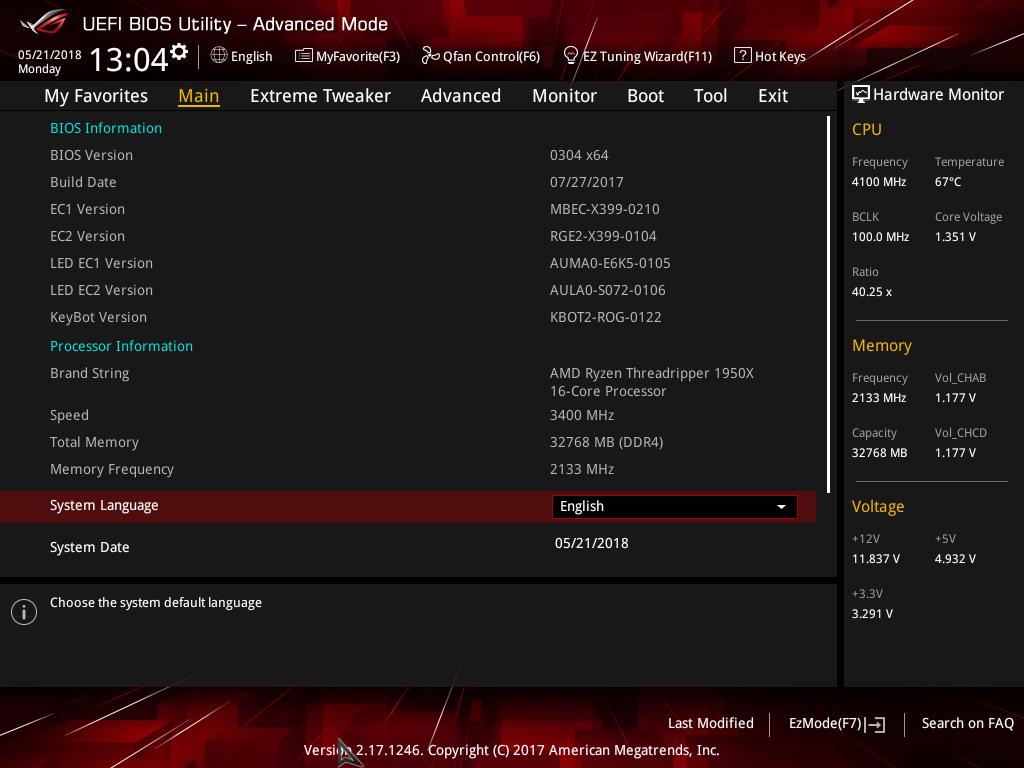
The first main menu option, “My Favorites”, is initially empty. This section displays only the options that the user manually marks as favorites and nothing else. If nothing is marked, the BIOS automatically defaults to the second tab, the “Main” menu. The Main menu mostly is an informative screen, with options only to change the language, time and date.


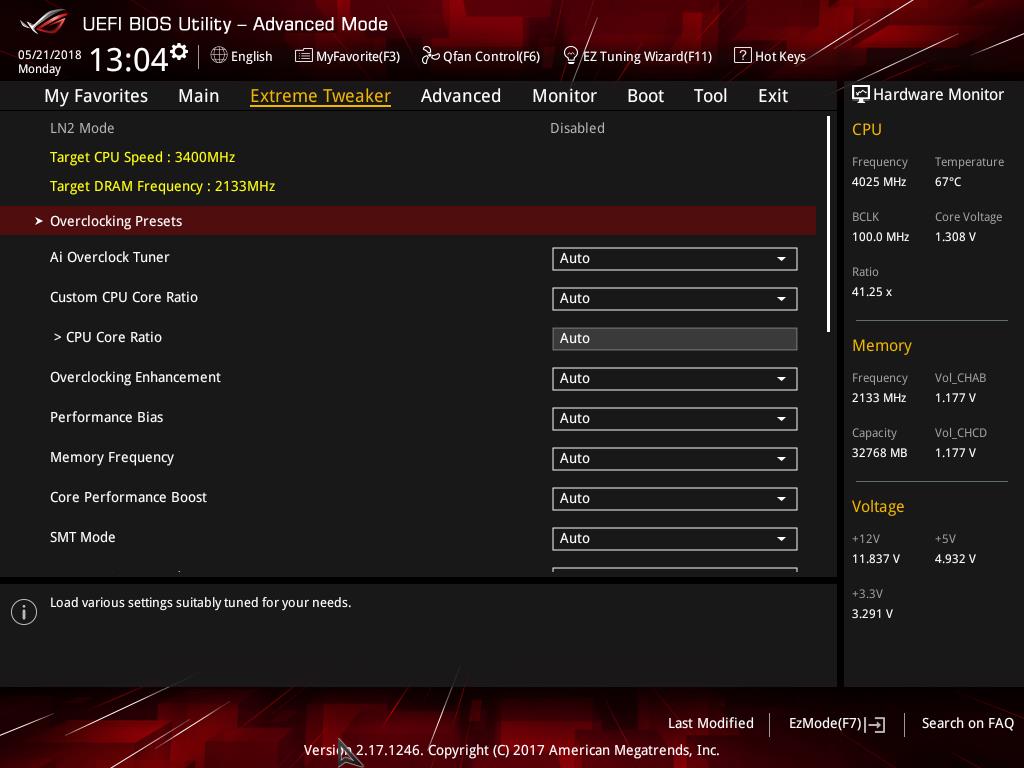
As its name hints, the “Extreme Tweaker” menu hides nearly all of the tweaking and overclocking options. Clicking on it brings up a long, scrollable list of options and submenus that competition and advanced overclockers will certainly enjoy. From here the user can change the RAM X.M.P. profiles, the BCLK and RAM frequency settings, the CPU clock ratio and most of the important voltage values. There is also an option for automated overclocking, unrelated to the "EZ Tuning Wizard" mode, that is called the "4GHz OC Profile" and will instantly set the Ryzen Threadripper 1950X at 4 GHz, along with any timing/voltage settings that ASUS's engineers believe that have to be tweaked in order to achieve a stable 4 GHz overclock.
More specific options are accessible via submenus. The first submenu is called “DRAM timing control” and brings up dozens of RAM timing options, with even more options hidden inside other, secondary submenus. It is even possible to adjust the RAM settings per channel and the BIOS offers special preprogrammed overclocking profiles for specific RAM modules, such as Samsung single-side B-die modules. We believe that the vast majority of the users that will decide to manually adjust the timing settings of their RAM modules will stick to the three primary timing settings. The rest of the options exist virtually only for competitive overclockers.
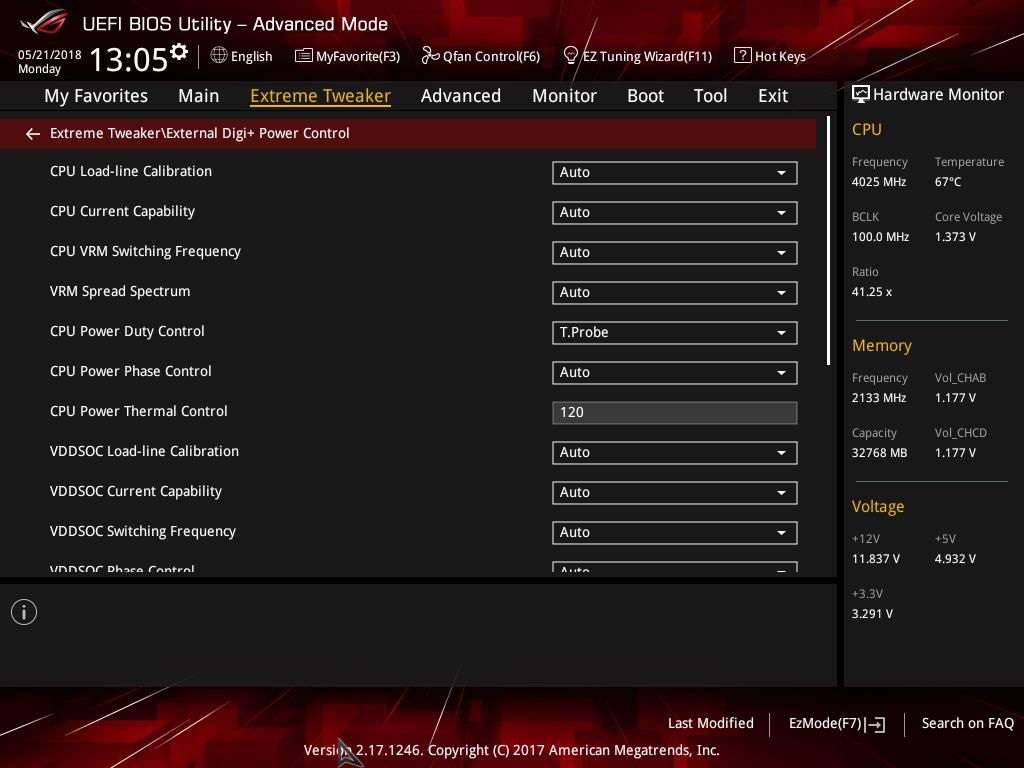
The Digi+ Power Control submenu also includes a score of important options, which are most of the voltage and current control settings. Finally, more advanced options are also available in the “Tweaker’s Paradise” submenu, including even more voltage options.
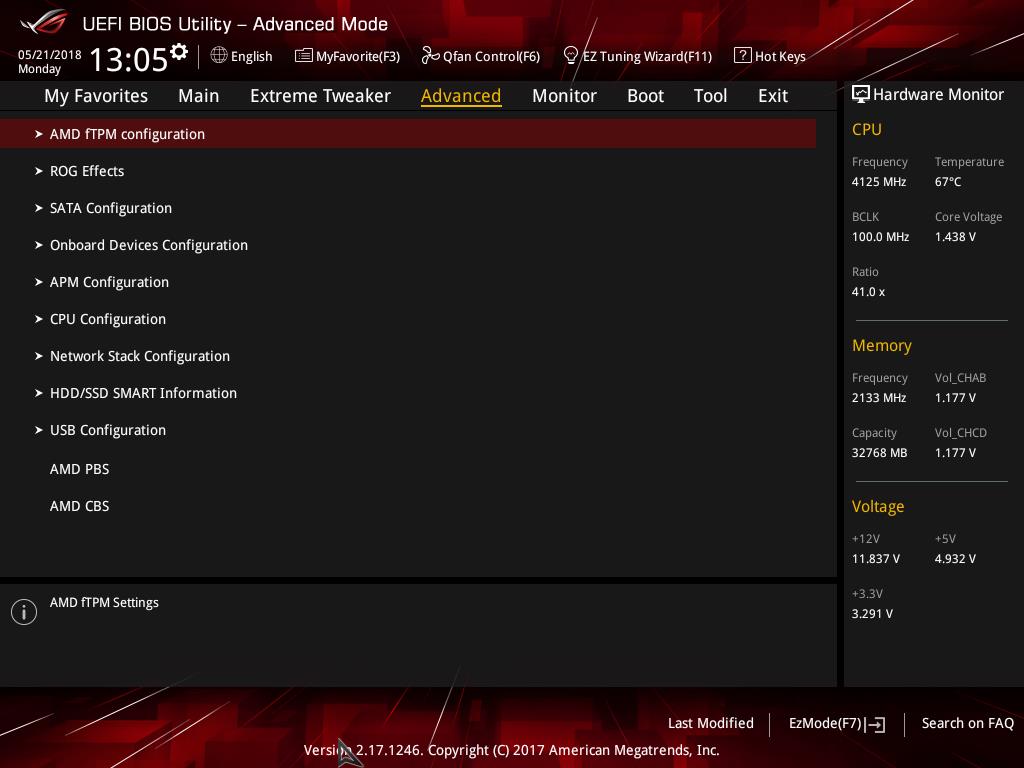
The Advanced menu is a long list of submenus, each of which includes tweakable options specific to a subsystem of the motherboard. Most of these submenus include only a handful of options, as the programmer moved whatever may be related to overclocking into the submenus of the Extreme Tweaker tab.
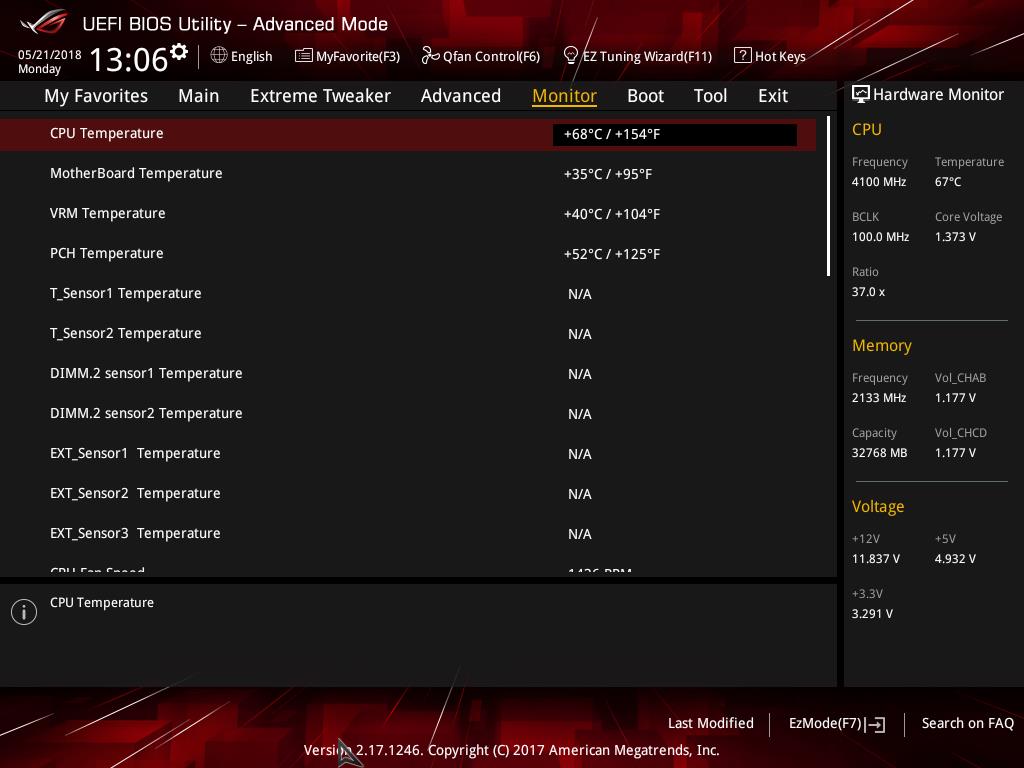
The Monitor menu appears to be purely informative at first because only sensor readings are visible, but scrolling down reveals several tweakable options that control the speed of the fans and allow for the programming of thermal profiles. There is a wealth of options for the thermal control of the fans, mainly due to the sheer number of headers this motherboard provides.
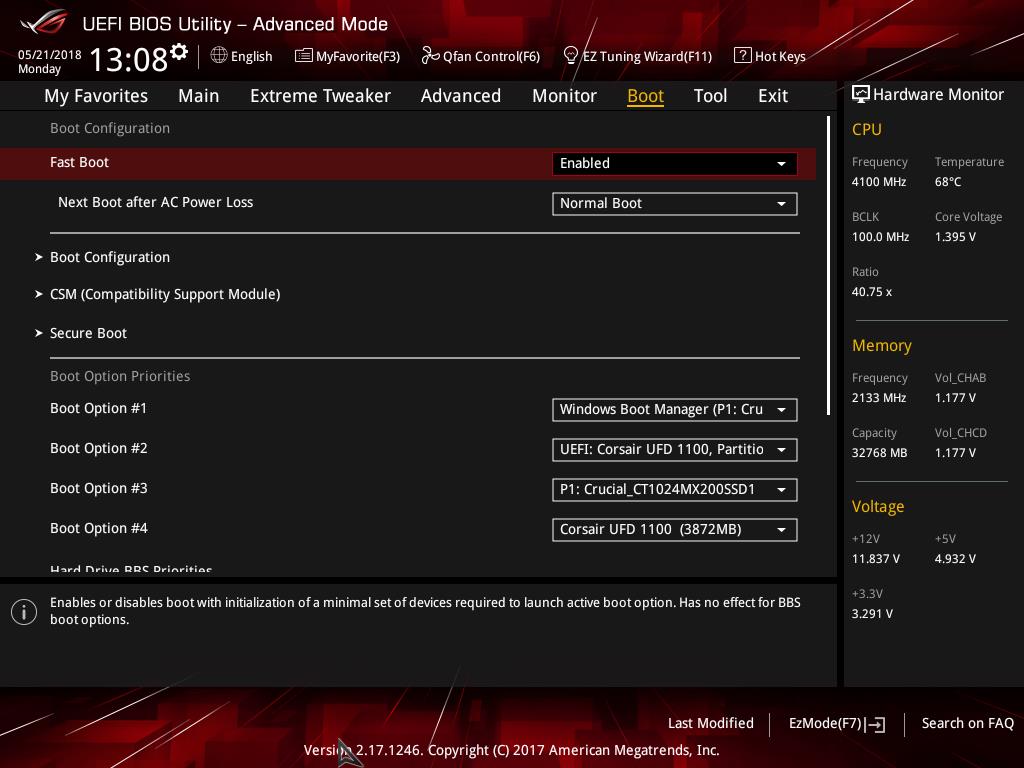
The Boot menu is home to many tweakable boot-specific options but nothing out of the ordinary that stands out in comparison to most modern motherboards. The CSM submenu is present here as well. An option to select the default BIOS mode (EZ Mode or Advanced) is also available.
In the Tool menu Asus placed a few of basic applications, including the “EZ Flash 3” utility for upgrading the BIOS. The “Secure Erase” tool is a low-level format application that is designed to “restore the performance of your SSD”. It will irreversibly destroy all data on the said SSD, so it definitely is not a very practical solution, but it can be very useful for recycling/reselling drives with sensitive data on them. The settings of the optional OC Panel are also accessible through here, as well as yet another instance of the preprogrammed 4 GHz overclocking profile.


25 Comments
View All Comments
jordanclock - Tuesday, July 17, 2018 - link
It's nice to have drivers available in situations where you either don't have immediate internet access or where you cannot access the internet because your OS install doesn't include necessary drivers, like for graphics or network adapters.twtech - Tuesday, July 17, 2018 - link
This is far from the worst example, but not having built a system in a few years - it seems like I've come back to find every motherboard now looks like some blinged-out kids toy from the dollar store. Lights, weirdly-shaped plastic shrouds with big gamer logos that have no functional purpose, etc.Yuriman - Wednesday, July 18, 2018 - link
The retail PC segment is in decline. Manufacturers are doing everything they can to attract a new generation of buyers.Awful - Tuesday, July 17, 2018 - link
I have no use case that requires 32 cores, 10Gb networking, or even wifi in a desktop so I wouldn't buy one of these. But I still waaannnt one!Alien959 - Wednesday, July 18, 2018 - link
I want to comment about m.2 cooling. According to numerous respected internet outfits and even the JEDEC specification and testing, nand flash lasts longer at higher temperatures and is recommended to be above 40c. The only part that needs cooling is the controller, but almost all cooling plates cool the nand.kazoOC - Thursday, July 19, 2018 - link
Notice one thing: most boards share the m2 heatsink with the PCH, which is responsible for pci and sata. It will always get relatively warm while still keeping the m2 drives away from throttling.Now, aftermarket m2 heatsink are another story but still a valid choice in poorly ventilated cases. Just take care to avoid contact with nand chips by peeling off portions of the thermal pad.
virpuain@gmail.com - Wednesday, July 18, 2018 - link
A quick glare suggests this VRM will be dissipating 30W at 1.4V@176A. That being said the 32 cores TR better come with a maximum TDP of 250W.For the pricetag this board is lacking alot in the VRM side of things, especially if you consider this a very premium board ( with AAA+++ premium pricetag ) with a VRM that is actually worse than what you have on a few AM4 boards like the X370 Taichi and C7H.
This VRM is pretty much like what you have with the X370 GT7, a $ 120 board for AM4.
Oxford Guy - Thursday, July 19, 2018 - link
ASUS and Gigabyte both sold hybrid air/water VRM cooling, beginning in 2013 with ASUS — for quad core CPUs. But, no — we don't need water cooling for VRMS on a board like this. Instead, we need tiny fans and LEDs.a351must2 - Wednesday, July 18, 2018 - link
I just have to comment on this ... I have this motherboard and would say the heatsink for the included 10GB card is necessary. I've actually been having problems with the 10GB network dropping offline randomly and traced it down to the card overheating. The heatsink is big, but it also needs some airflow near it (my case provides none). I now have an additional slot fan mounted that moves air across the 10GB card and my other addon cards (older intel dual GB nic and a 9211 sas controller).Also, if this review had been done 9 months ago when I built mine, there would've been some mention of the buggy bios and memory support. I made the mistake of buying unsupported DDR3200 ram (Corsair kit for Intel) and after reading a bit was feeling lucky I got it to run at 3000. A bios update in January got it to run at 3200 though and I believe most of the fan speed control issues have been resolved.
As for power, when messing with overclocking mine I've had the 1950X draw over 350 watts by itself using this board. That'll easily cover a 250Watt TDP 32 core processor ... I'm sure we'll see the limits when the new processors become available though.
Timur Born - Friday, July 20, 2018 - link
Thanks for the article.I find the DPC Latency section misleading. There is no mention what power profile and BIOS (C-states) settings were used and if the values reported are maximum or average values. Look at this example:
Highest measured interrupt to DPC latency (µs): 354,514229
Average measured interrupt to DPC latency (µs): 2,480283
Quite the difference. And 354 µs maximum still is not a problem even at lowest audio buffer settings.